
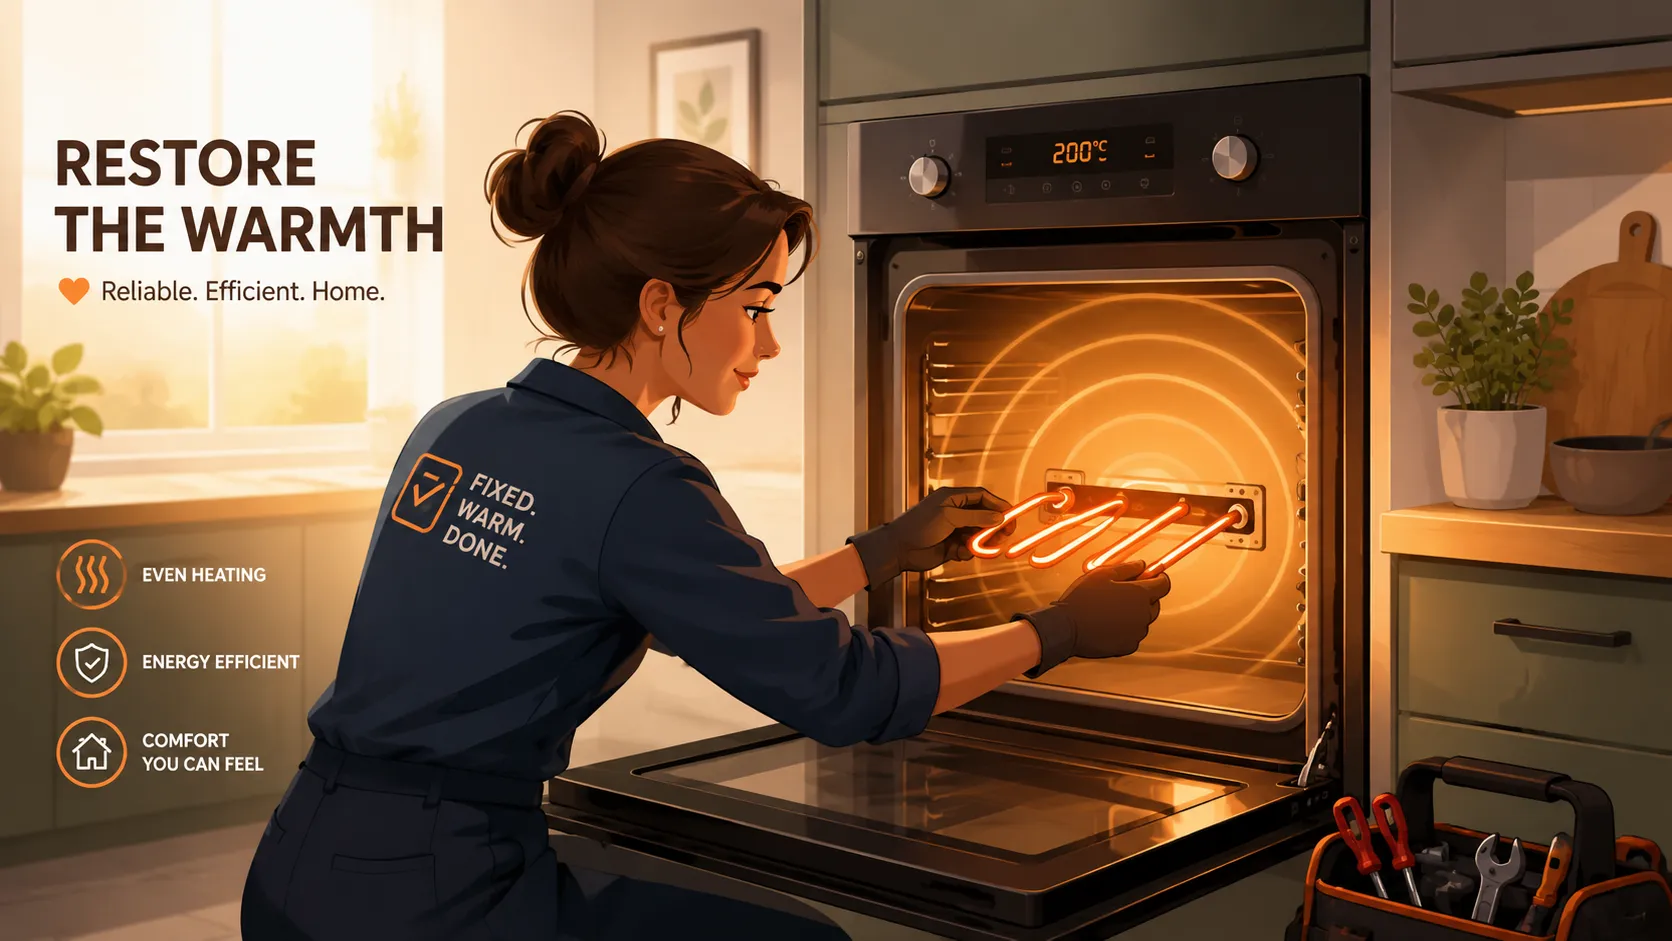
An oven heating element is the heart of any electric oven. Without it, your appliance becomes little more than an insulated storage box. The heating element converts electrical energy into heat, creating the temperatures needed for baking, roasting, broiling, and other cooking functions. Most electric ovens contain two primary elements: a bake element located at the bottom and a broil element positioned near the top. These components work together to distribute heat evenly throughout the cooking cavity.
The heating process appears simple from the outside, but internally the element contains a resistance wire sealed inside a metal sheath. As electricity passes through the wire, resistance generates heat that radiates into the oven chamber. Over years of repeated heating and cooling cycles, this wire experiences stress and deterioration. Eventually, the element may crack, burn out, short circuit, or lose efficiency. According to appliance repair specialists, bake and broil elements are among the most frequently replaced components in electric ovens because they endure constant exposure to extreme temperatures. Understanding how the element functions helps homeowners recognize problems before they become severe. Think of the heating element as the engine in a car. If the engine fails, the vehicle cannot move. Similarly, if the heating element fails, your oven cannot maintain proper cooking temperatures, resulting in undercooked meals, inconsistent baking results, and frustration in the kitchen.
How Heating Elements Generate Heat
The science behind a heating element is surprisingly straightforward. Electrical current travels through a highly resistant internal wire. This resistance creates heat, which radiates outward through the protective metal sheath. The process is designed to provide consistent temperatures while preventing direct exposure of electrical components.
Common Causes of Heating Element Failure
Frequent use, age, power surges, accidental impacts from cookware, and manufacturing defects are among the leading causes of heating element failure. In some cases, grease buildup can contribute to overheating and premature wear.
Recognizing the Signs of a Failed Heating Element
Before replacing an oven heating element, it is essential to confirm that the element is actually the source of the problem. Many homeowners assume the entire oven is failing when the issue is isolated to a single component. Identifying the warning signs early can save time, money, and unnecessary troubleshooting.
One of the most obvious symptoms is visible damage. A failed element may display cracks, blisters, holes, burn marks, or sections that appear broken. Sometimes the damage is dramatic, producing sparks or flashes during operation. In other cases, the damage is subtle and requires closer inspection. Appliance repair experts consistently identify physical deterioration as one of the strongest indicators of element failure. Another common sign is uneven cooking performance. Perhaps your cookies are burning on one side while remaining undercooked on the other. Maybe your roast takes significantly longer than expected to reach a safe internal temperature. These inconsistencies often indicate that the element is no longer producing heat uniformly. Some homeowners also notice that the oven struggles to reach the selected temperature or never reaches it at all. This symptom can make meal preparation frustrating because recipes become unreliable.
Visible Damage and Burn Marks
Inspect the element carefully. Look for blistering, bubbling, cracks, holes, or dark scorch marks. Even a small defect can interrupt electrical continuity and prevent proper heating.
Uneven Cooking and Slow Heating
When heating performance declines, food quality often suffers first. Longer preheating times, inconsistent browning, and poor baking results frequently indicate an aging or damaged element.
Safety Steps to Take Before Starting Repairs
Replacing an oven heating element is considered a manageable DIY repair, but safety should always come first. Electric ovens operate on high-voltage circuits that can cause severe injury if handled improperly. The difference between a successful repair and a dangerous situation often comes down to proper preparation.
The first and most important step is disconnecting power completely. Never assume an oven is safe simply because it is turned off at the control panel. The appliance may still be connected to a live electrical circuit. Always switch off the appropriate breaker or unplug the appliance if possible. Repair professionals emphasize that electric ovens commonly operate on 220-240 volts, which can be extremely dangerous if proper precautions are ignored. After disconnecting power, allow the oven to cool completely. Heating elements can retain heat long after the appliance is switched off. Wear work gloves to protect your hands from sharp edges and sheet metal components inside the oven cavity. Safety glasses are also recommended because screws, clips, and debris can unexpectedly shift during disassembly.
Disconnecting Electrical Power
Locate your home’s electrical panel and switch off the breaker supplying power to the oven. Confirm that the oven display and lights are no longer functioning before beginning any work.
Essential Safety Equipment
A simple pair of insulated gloves, safety glasses, and a flashlight can significantly improve safety and visibility during the repair process.
Tools and Materials Required
Before starting the replacement process, gather all necessary tools and materials. Having everything within reach minimizes interruptions and helps ensure a smooth repair experience. Most oven heating element replacements require only a few common household tools, making the job accessible to many homeowners.
A screwdriver is typically the most important tool because the heating element is usually secured with mounting screws. Needle-nose pliers can be useful for disconnecting stubborn wire terminals. A flashlight improves visibility inside the oven cavity, especially when examining wiring connections. If you plan to verify the condition of the old element, a multimeter can help measure resistance and continuity.
Testing with a multimeter provides valuable diagnostic information. Working heating elements commonly show measurable resistance, while failed elements often display infinite resistance or an open circuit reading. Repair guides frequently report typical resistance values between approximately 10 and 50 ohms depending on the element design.
Basic Repair Tools
- Screwdriver set
- Needle-nose pliers
- Flashlight
- Work gloves
- Safety glasses
- Multimeter
- Manufacturer-approved replacement heating element
Accessing the Heating Element Without Damaging Components
Accessing the heating element carefully is crucial because internal oven components can be delicate. Rushing this stage may create additional problems that are more expensive than the original repair. The good news is that most electric ovens are designed with relatively straightforward element access.
Start by opening the oven door and removing all racks. This creates adequate workspace and prevents accidental damage to cooking surfaces. Next, locate the heating element. Bake elements are generally mounted at the bottom of the oven cavity, while broil elements are positioned at the top. Once identified, examine the mounting screws securing the element to the rear wall.
After removing the screws, gently pull the element forward. Most ovens provide a small amount of excess wire behind the mounting location, allowing the element to move outward several inches. Be careful not to pull too aggressively. Excessive force may disconnect wires behind the wall, creating a more complicated repair. Repair experts consistently recommend slow, controlled movements during this stage.
Removing Oven Racks and Interior Obstacles
Creating a clear workspace reduces the risk of scratching interior surfaces or accidentally bending the replacement element during installation.
Locating Mounting Screws and Connectors
Most heating elements are secured with two mounting screws positioned near the rear wall. These screws provide access to the wiring connections hidden behind the oven liner.
Disconnecting Wires the Correct Way
Once the element is pulled forward, the wiring connections become visible. This is where patience pays off. Improper wire handling can create connection issues that prevent the oven from functioning even after a successful element replacement.
Take a photo of the wiring configuration before disconnecting anything. This simple step serves as a valuable reference during reassembly. Carefully disconnect the wire terminals by pulling on the connectors rather than the wires themselves. Tugging directly on the wire can weaken or break the connection.
Preventing Wire Retraction Behind the Oven Wall
One common challenge occurs when wires slip backward into the insulation cavity behind the oven wall. To avoid this, hold each wire securely as you disconnect it. Some technicians use masking tape to temporarily secure wires in place until the new element is installed.
Making Sure the Replacement Part Matches
Selecting the correct replacement part is one of the most important aspects of the repair process. Installing the wrong element can result in poor performance, improper fitment, or complete failure to operate. The safest approach is to use the oven’s model number to identify the exact manufacturer-approved replacement.
Compare the old and new elements side by side. Examine the shape, mounting bracket, connector configuration, length, and terminal placement. Even small differences can create installation issues. Real-world repair discussions frequently highlight problems caused by elements that appear similar but are not exact matches.
Verifying Model Compatibility
Use the oven model number from the appliance label to verify compatibility. Manufacturer specifications provide the most reliable information.
Comparing Old and New Elements
Check mounting brackets, connector positions, terminal count, and overall dimensions before proceeding with installation.
Proper Installation and Secure Connections
Installing the new heating element is essentially the reverse of the removal process. Connect the wires to the new element using the same configuration as the original setup. Ensure that each connector fits securely and does not wobble excessively. Loose electrical connections can generate heat, cause arcing, and reduce reliability.
After attaching the wires, carefully guide the element back into position. Avoid pinching wires or forcing the element into place. Align the mounting bracket with the screw holes and reinstall the retaining screws. Tighten them securely without overtightening, as excessive force may damage the mounting points.
Attaching Wires and Mounting Hardware
Secure connections are essential for consistent performance. Double-check every terminal before reinstalling the mounting screws.
Reassembling the Oven Interior
Replace oven racks and inspect the interior for tools, packaging materials, or loose hardware before restoring power.
Testing the Oven After Installation
Testing confirms whether the repair was successful. Restore electrical power by switching the breaker back on or plugging the appliance into its power source. Set the oven to a moderate baking temperature and observe the heating cycle.
Many new elements produce a temporary odor or light smoke during initial use because protective manufacturing coatings burn away. This is generally considered normal for a new installation. Experts often recommend operating the oven at approximately 350°F for fifteen to twenty minutes during the initial testing period.
Initial Power-Up Procedure
Watch for unusual noises, sparks, error codes, or breaker trips. Any of these symptoms may indicate an installation issue or a separate electrical problem.
Confirming Proper Heating Performance
Verify that the element glows evenly and that the oven reaches the selected temperature within a reasonable timeframe.
| Test Item | Expected Result |
|---|---|
| Power restoration | Display and controls function normally |
| Heating element glow | Even heating without flashing |
| Preheating speed | Comparable to manufacturer expectations |
| Odor during first use | Mild temporary smell is normal |
| Temperature accuracy | Oven reaches selected setting |
Problems That May Still Affect Heating Performance
Sometimes replacing the heating element does not fully resolve heating problems. This situation can be frustrating, especially after investing time and effort into the repair. Fortunately, understanding other potential causes can help narrow the diagnosis.
A faulty temperature sensor is one possibility. If the sensor reports inaccurate readings, the oven may incorrectly assume it has already reached the target temperature. Control board failures are another common issue. The control board manages power delivery to heating components, and defective relays can interrupt electrical flow. Repair specialists also note that power supply problems, including partial loss of a 240-volt circuit, can prevent proper heating even when the new element is functioning correctly. Additional concerns may include damaged wiring, loose connectors, thermal fuse failures, or internal electrical faults. If the oven still does not heat properly after replacement, a multimeter can help verify voltage delivery and continuity throughout the heating circuit. In complex cases involving control boards or internal wiring, professional diagnosis may be the most efficient solution.
Faulty Sensors, Control Boards, and Power Supply
Common causes of continued heating problems include:
- Defective temperature sensor
- Failed control board relay
- Inadequate voltage supply
- Damaged wiring harness
- Blown thermal fuse
- Loose electrical connections

Cael Brenner is a 29-year-old American content writer based in Boise, Idaho. With several years of experience researching home improvement, architecture, and lifestyle topics, he creates practical, evidence-based articles that help readers make informed decisions. As a contributor to residentialspaces.xyz, he combines professional writing with careful fact-checking and a reader-first approach, building trustworthy content that reflects real-world knowledge and clear communication.